从源码构建出Spring框架运行,方便探索Spring源码。
构建环境
- OS: MacOS 10.15.2
- JDK 1.8
- Spring 源码版本:5.1.x
- Gradle: 项目源码自带的Gardle Wrapper(gradlew)
- IntelliJ IDEA Ultimate 2019.3.3
构建过程
- 下载源码:直接从GitHub下载Srping-framework的源码,项目地址为https://github.com/spring-projects/spring-framework ,下载源码压缩包时要注意选择正确的版本分支。
- 解压源码压缩包后,在源码目录下执行以下命令,进行构建(排除了test和javadoc两个任务,因为这两个任务都很耗时间而且没用):
1
./gradlew build -x test -x javadoc
- 等待构建完成,如果某个任务卡了很久,可以ctrl-c停掉,再重新开始,之前的构建记录会有保存;如果下载依赖的速度很慢,可以在build.gradle中配置本地的镜像,或者开启科学上网。
- 构建成功会有以下提示:

- 构建成功后可以导入到IntelliJ IDEA中。(通过Start up 界面或者 File -> New -> Project from Exsisting Sources… )


- 稍等片刻,等待其配置完成,构建过程就结束了。
(如果直接在IDEA中构建,会出现各种各样奇怪的问题,上面的过程我试了几次,比较稳定。)
基于源码运行Spring框架
构建成功后,可以编写一个启动类,基于源码运行Spring应用。
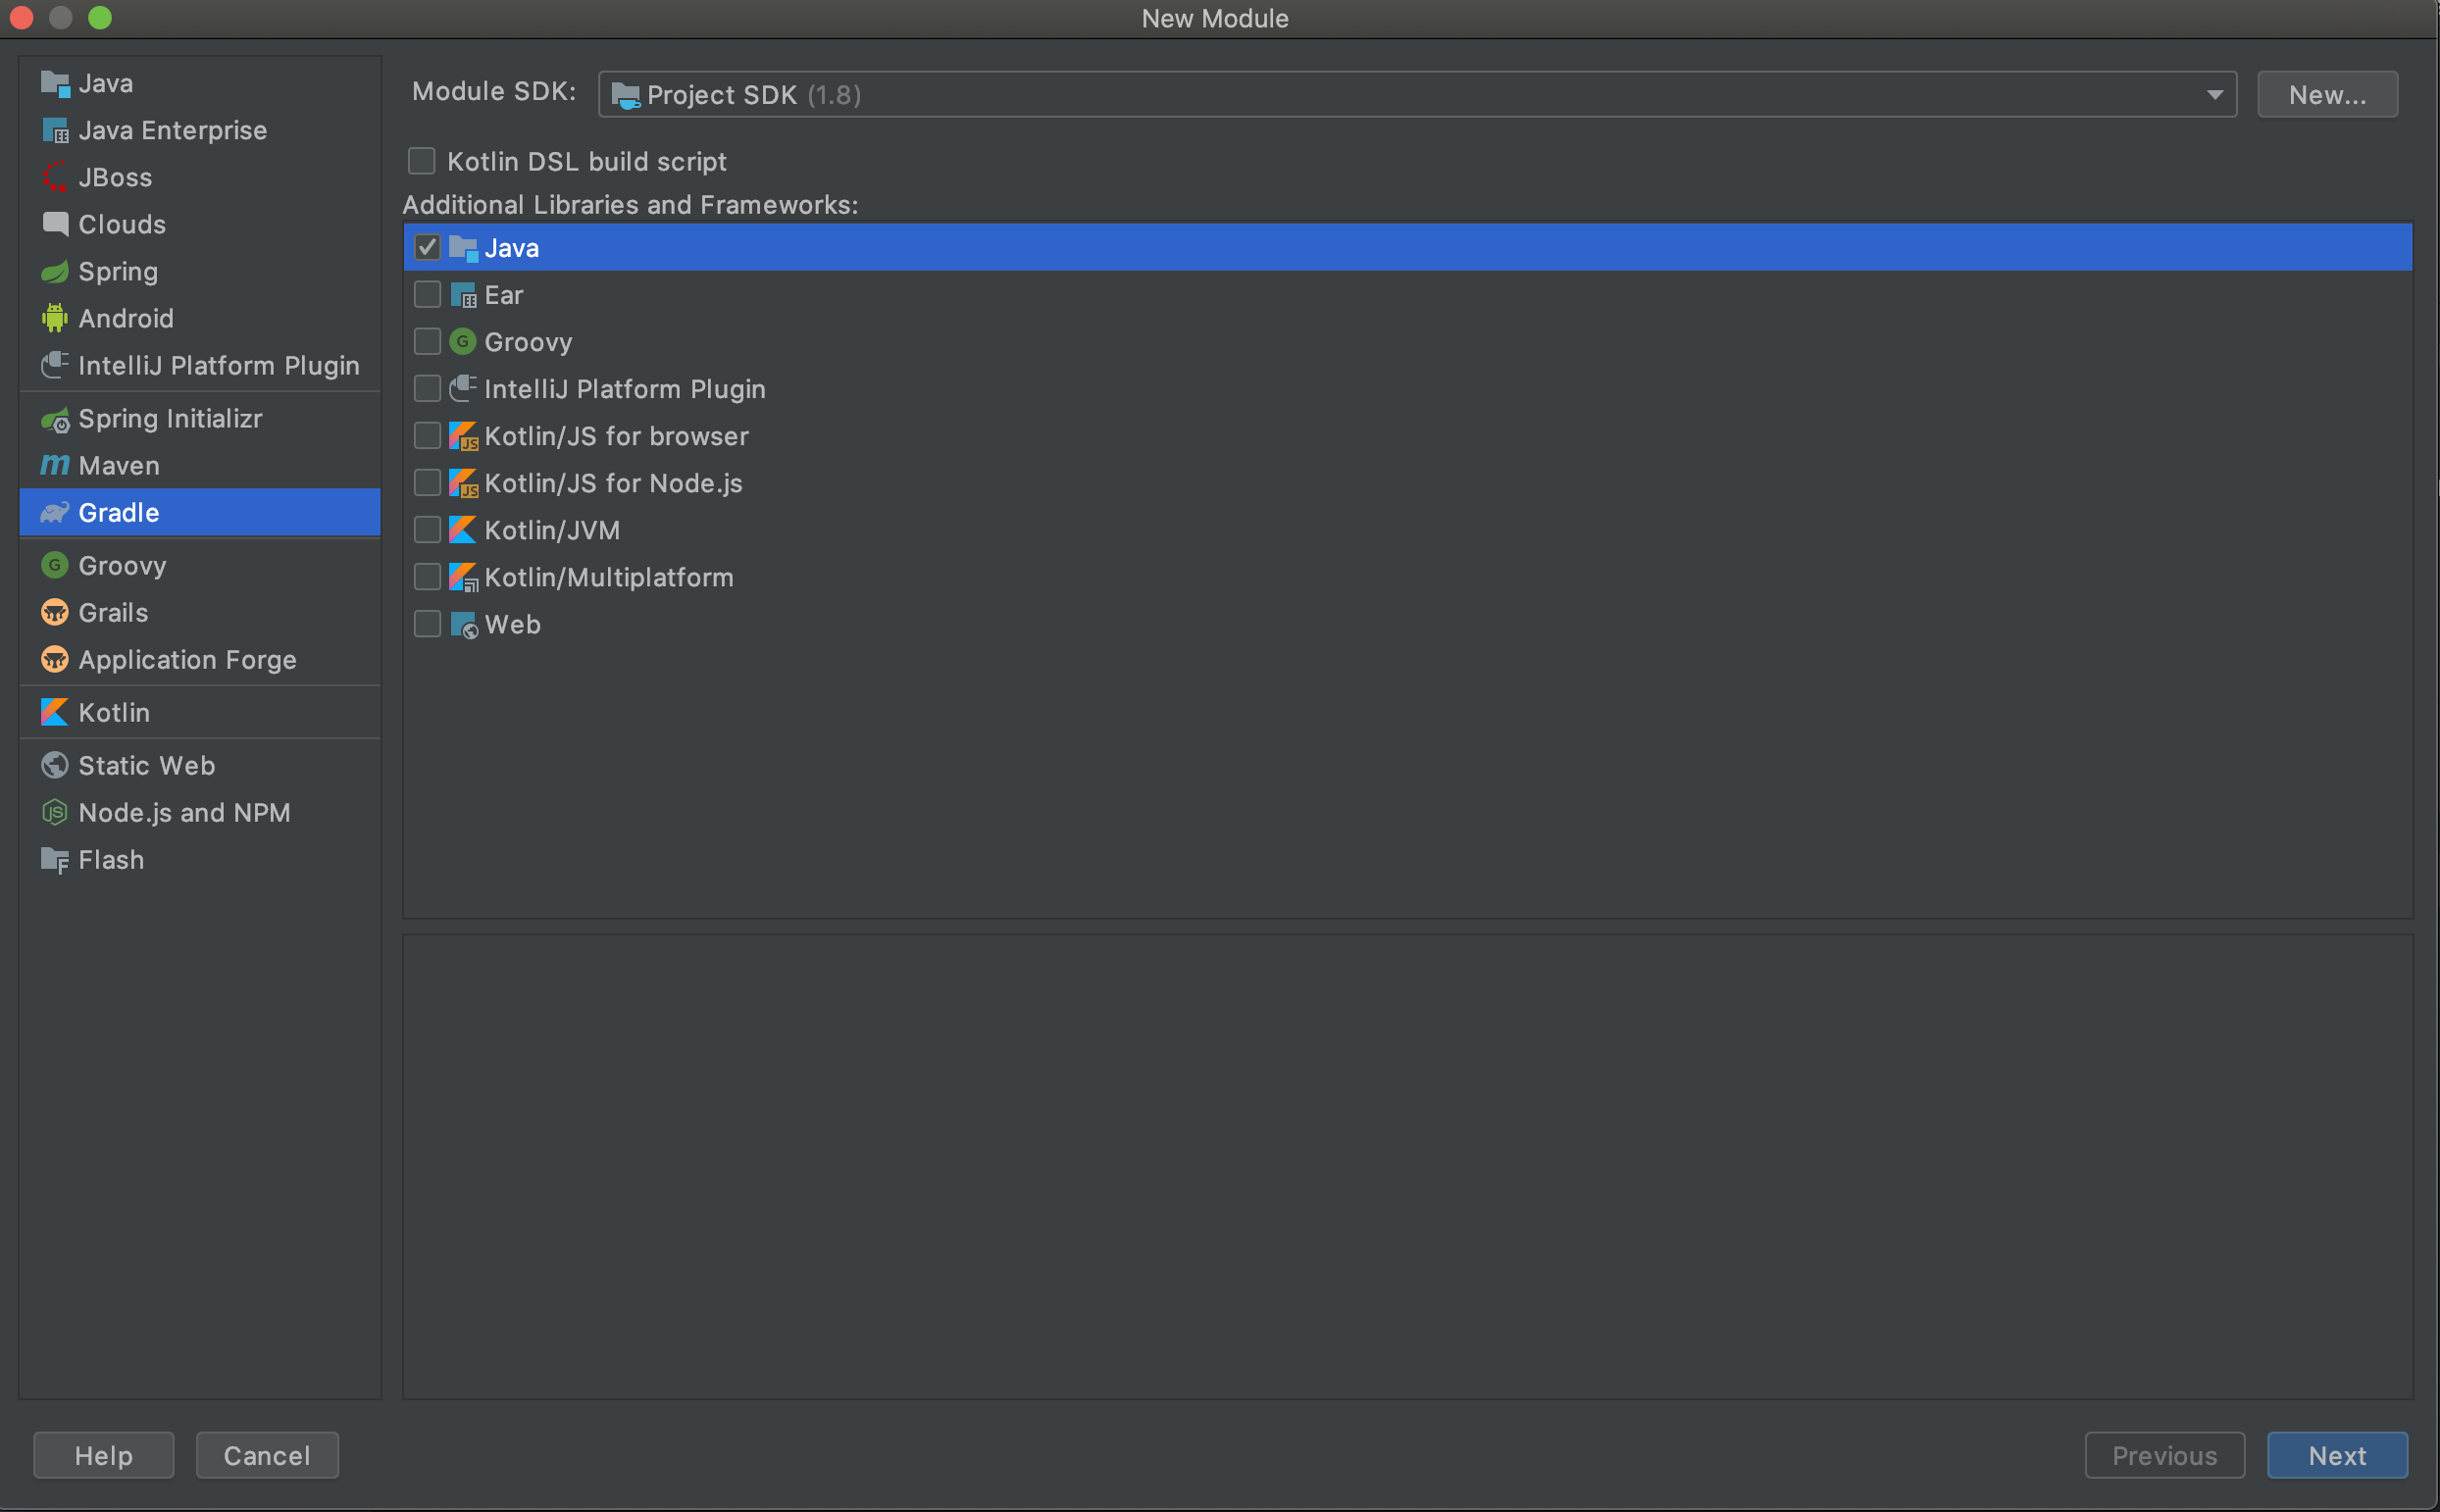
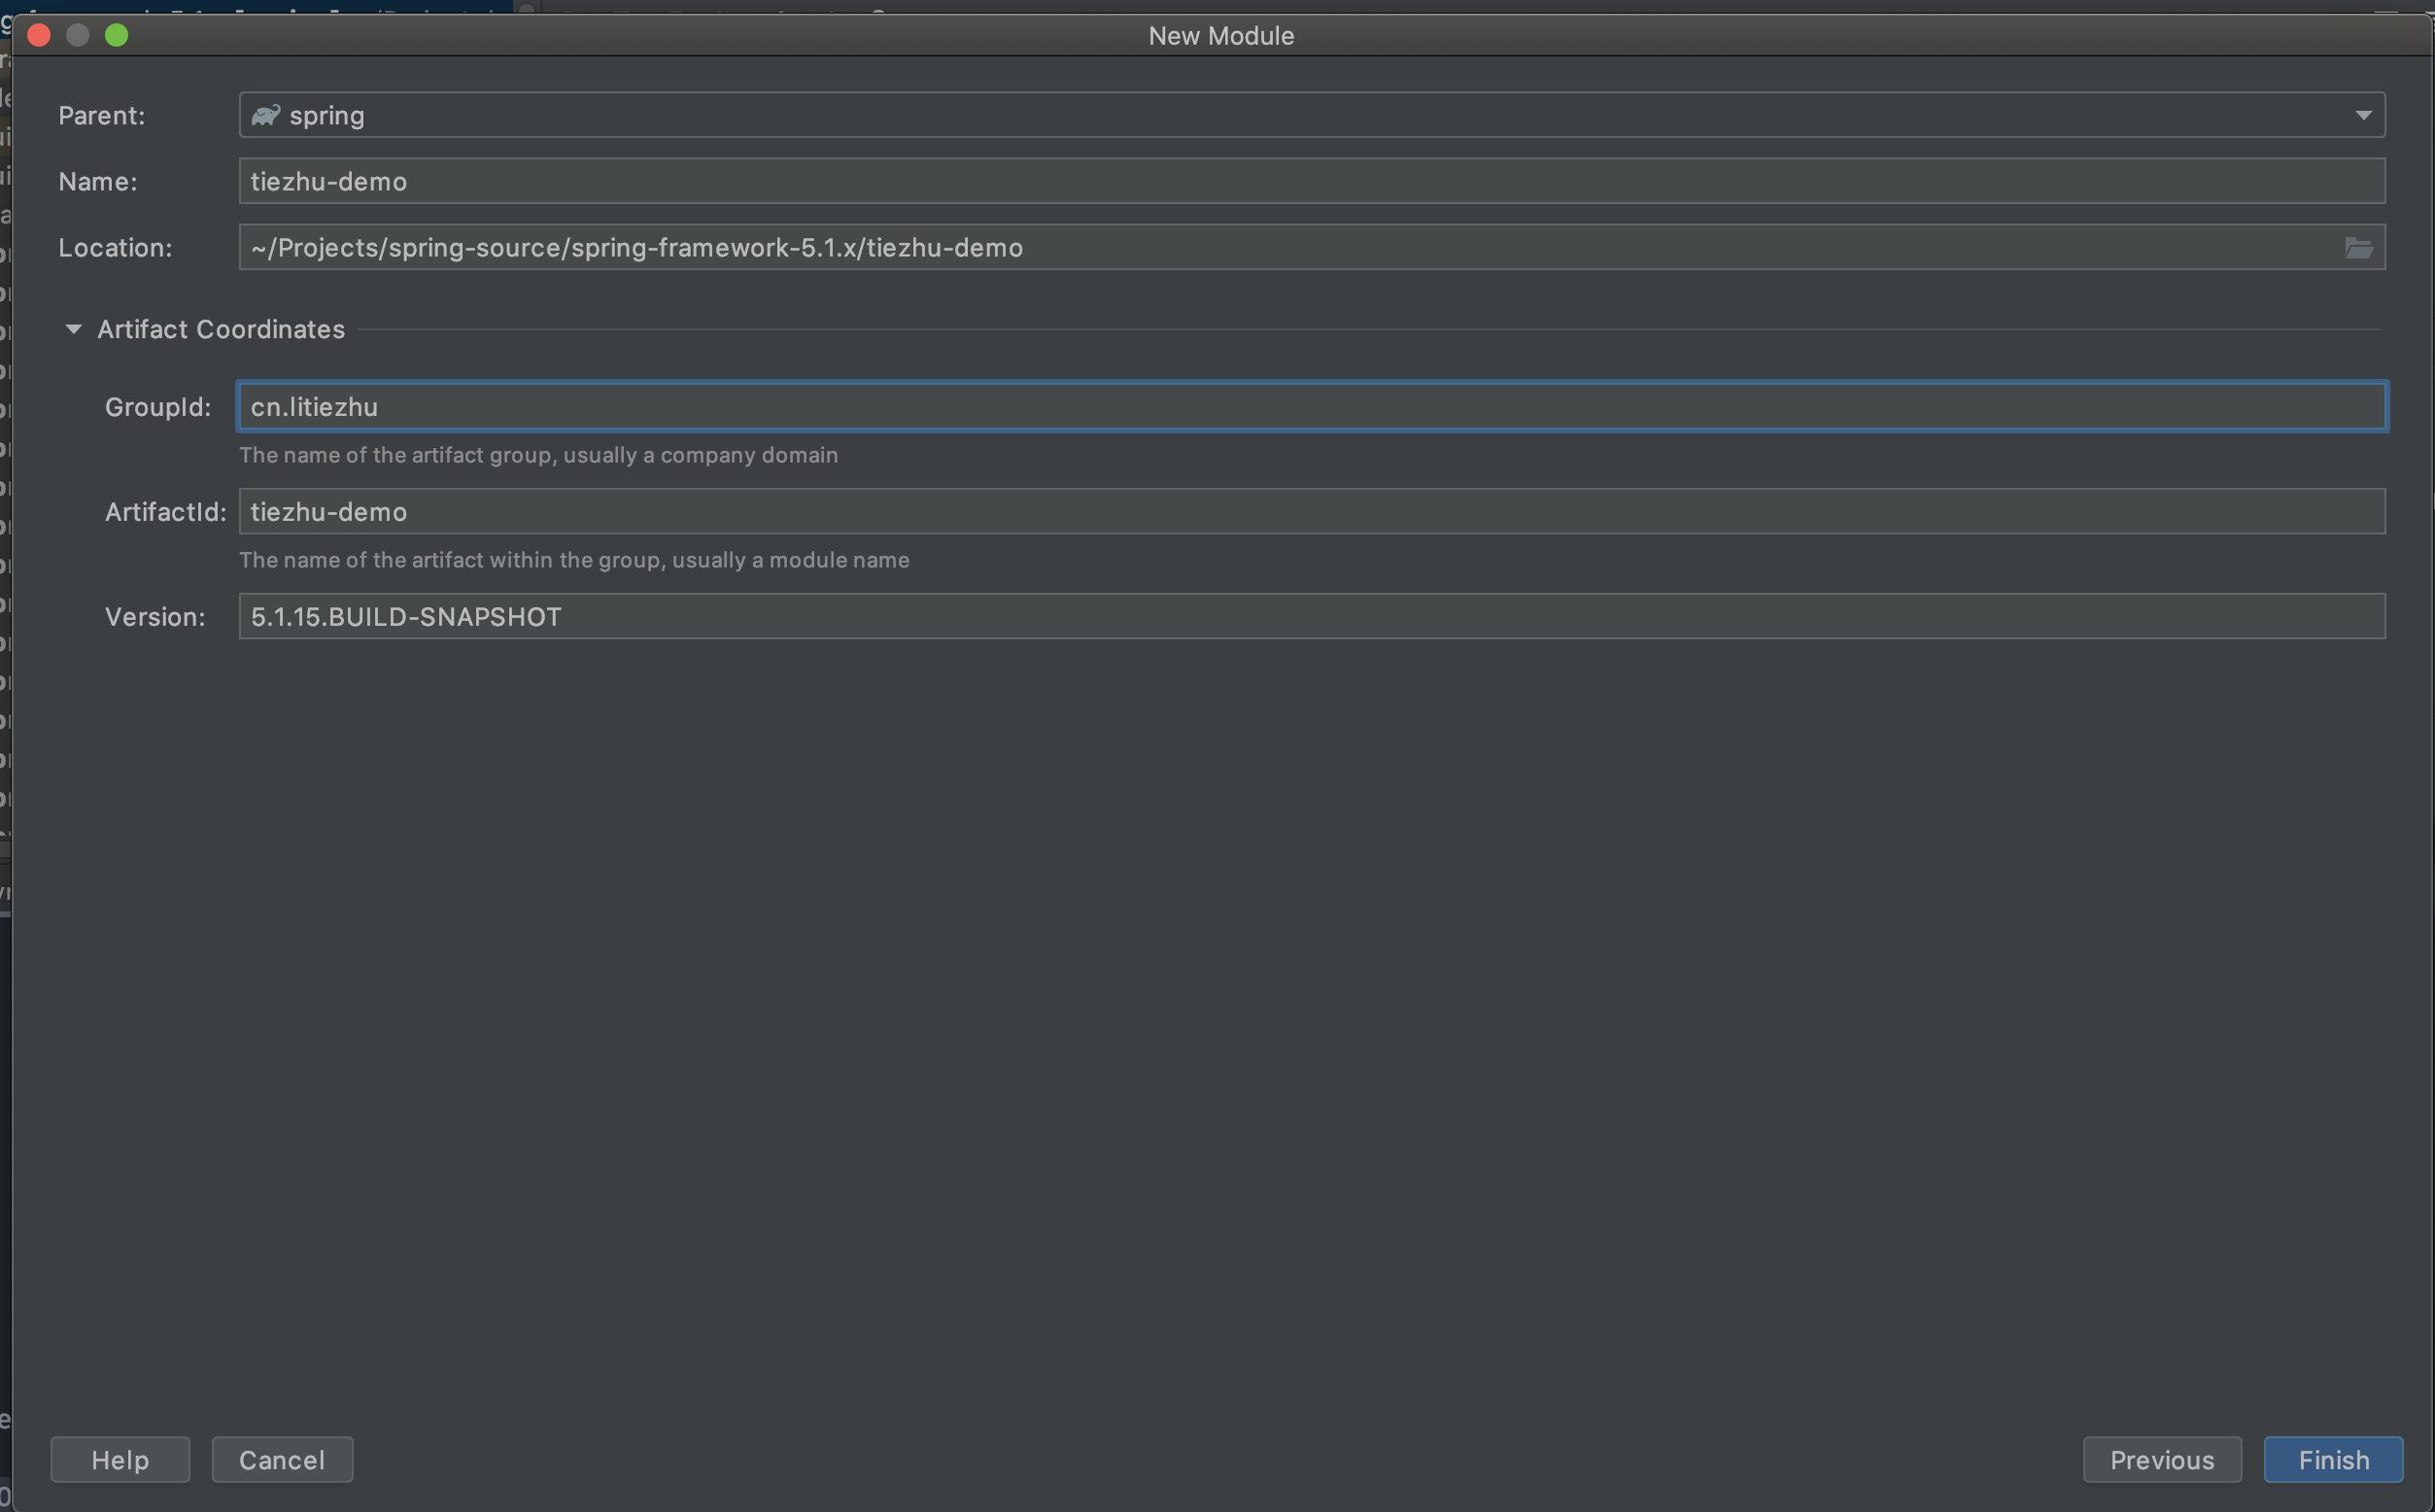
- 在源码根项目下新建一个模块:File -> New -> Module…


- 稍等片刻,在IDEA设置完成后,在新建模块的build.gradle文件中的dependencies块中添加对spring-context的依赖,并在Gradle工具栏中刷新依赖(reimport):

- 完成后,就可以在新模块中使用Spring-framework提供的类了。在该模块下新建三个类,分别是配置类、启动类和一个Bean:
 三个类的代码:
1 |
|
1 | public class DemoApp { |
1 |
|
运行DemoApp.main(),能够得到正确的输出,构建过程就正式宣告成功了!接下来就可以在这个项目中调试Spring源码了。